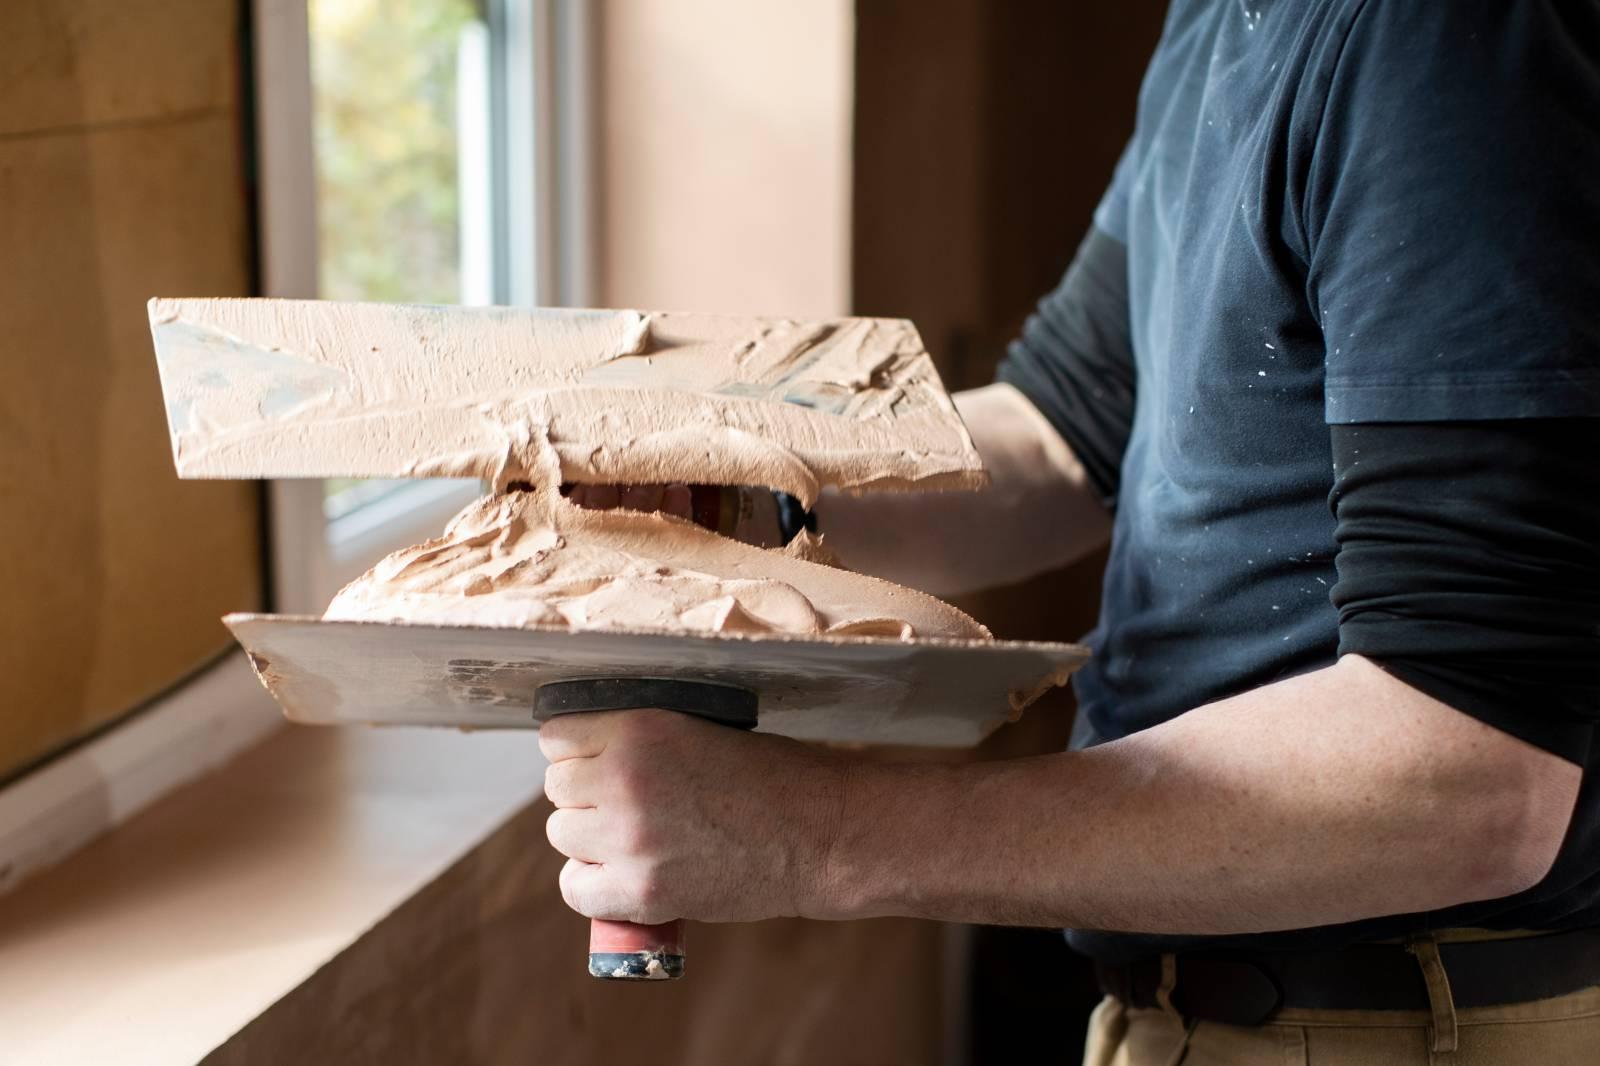
A Short Guide to Plastering
When it comes to home improvements, plastering is a skill that’s often misunderstood. Yet, it’s indispensable for achieving that smooth finish we all desire on our walls. Whether you’re a DIY enthusiast or a seasoned builder, this guide aims to make the plastering process easier.
Why do I need to plaster a wall?
Plastering a wall is not just an aesthetic decision — it also adds a layer of protection. A well-plastered wall is more resistant to knocks and dents, provides a moisture barrier and offers a seamless surface for painting or wallpapering.
What tools will I need?
Before diving into the process, it’s crucial to have the right tools at your disposal. To achieve a professional-looking plaster finish, you’ll need:
- Plastering trowel
- Plastering bucket
- Plastering spatula
- Plastering brush
- Plasterers float
- Plastering beads
- Plaster mixing paddle
- Mixing drill
- Straight edge or feather edge
The good news? You can find all these plaster tools at any of Hitchcock & King’s seven branches across London.

How do I prepare the plaster? Step by step
Proper preparation of the plaster mix is crucial for a smooth application. Here’s how to prepare plaster, step by step:
1. Measure
Start by measuring the correct ratio of plaster to water as per the manufacturer’s instructions.
2. Mix
Use a plaster mixing paddle attached to a mixing drill to combine the plaster and water in a plastering bucket.
3. Stir
Ensure that you mix thoroughly until you achieve a lump-free consistency.
How do I apply the plaster to the wall?
Once the plaster mix is ready, you can begin the application:
1. Prime the Wall
Use a plastering brush to dampen the wall slightly. This will help the plaster adhere better.
2. Apply Plastering Beads
If the wall has external corners, attach plastering beads for a cleaner finish.
3. Initial Application
Using a plastering trowel, apply the first coat of plaster.
4. Smooth Out
Use a plasterer’s float to spread the plaster evenly, working from one end of the wall to the other.
5. Second Coat
After the initial layer begins to set, apply a second coat.
How long does plaster take to dry?
The drying time for plaster can vary based on environmental factors like humidity and temperature. However, a general rule of thumb is to wait at least 24 to 48 hours before proceeding to the next step.
How do I complete the plastering?
After allowing sufficient drying time, your wall should be ready for finishing touches:
1. Sanding
Once dry, use fine-grit sandpaper to smooth any imperfections.
2. Cleaning
Wipe down the wall to remove any dust.
3. Final Touch
You may choose to apply a thin layer of finishing plaster for added smoothness.
How long after plastering can you paint?
Ideally, you should wait at least a week before painting to ensure the plaster is fully dry. Failure to do so can result in an uneven paint job and may compromise the quality of the plaster finish.
High-Quality Plaster Mix for Customers Across London
When it comes to sourcing the best materials for your plastering project, Hitchcock & King offers an extensive range of plaster and plastering supplies. Our experts can guide you through the entire process, ensuring that you get a plaster mix tailored to your specific needs.
Remember, a successful plastering project starts with high-quality materials. And where better to find these than at your local Hitchcock & King branch?
So, don’t delay your home improvement any longer. Contact Hitchcock & King and get your plastering project started.
