How to Build Your Own Pergola
Day 172 of working from home. All this extra time saved by not having to commute has led to some interesting new hobbies. You’ve completed the Rubik’s cube. You’ve knitted a winter coat for your dog. You’ve even read the dictionary cover to cover.
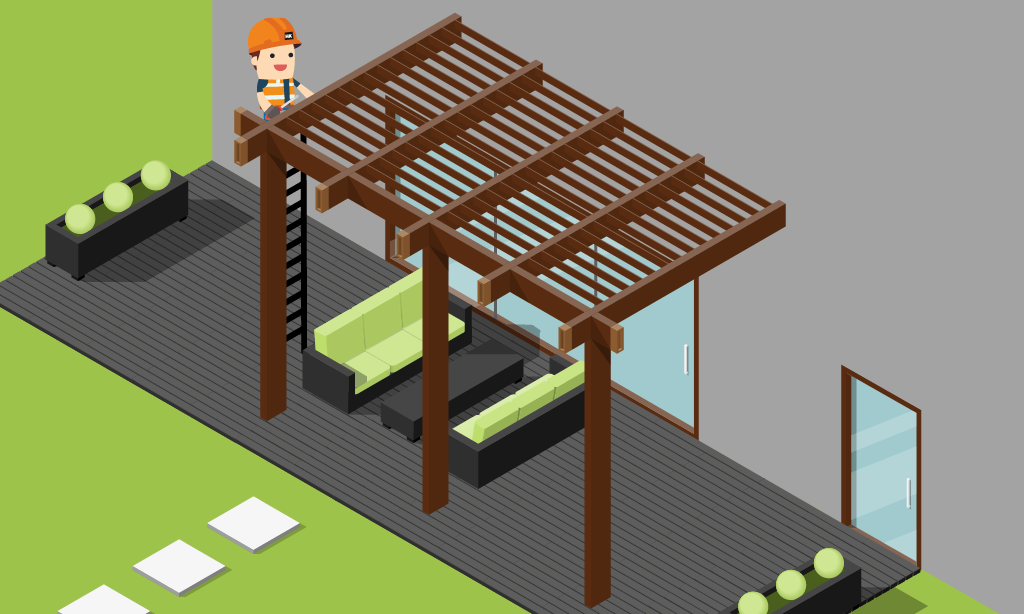
Now whip out your toolkit and get your hardhat on. It’s time to build a pergola.
Before you start
Make sure you plan where your pergola is going to go before you start. If you’re planning on installing your pergola on a patio or on decking, you’ll need to install base anchors.
If you plan on installing your pergola into the ground, you’ll need to dig post holes. If you go down this route, we recommend first contacting your utility providers to make sure you can dig into your garden without causing any problems.
Choose your wood wisely. We recommend a treated softwood like carcassing timber because it ages well and is resistant to decay.
Step 1 – Dig post holes or install base anchors
First, mark your post holes in line with the size of your pergola. Verify that you have marked the correct positions by measuring diagonally from corner to corner.
If installing your pergola on grass, dig your post holes using a power auger or post-hole digger. The depth of the holes should be around a quarter the size of the posts.
If installing on a patio or decking, use a hammer-action drill to boreholes and fix the base anchors in place using screws or expanding masonry bolts.
Step 2 – Dropping & levelling poles
Prop a post into one of the holes or base anchors. Do the same with a second post in the neighbouring hole. You should put a cross member on top of these two posts and use a spirit level to ensure they are level. Repeat this with all the posts until you are happy they are all level. You may need to nail lengths of scrap batten to the posts so that they stay upright unassisted.
Step 3 – Secure the posts
When you are happy, either fix the post to the base anchors or fill the holes with concrete.
When using concrete, have someone hold the posts to prevent them from moving out of place. Compact the mixture around the post while taking care not to move it out of position. Make sure the post is still level, and then repeat with the other posts. Once all the holes have been filled, leave the concrete to cure. This usually takes around two days.
Step 4 – Add your beams
Once the concrete has set and the posts are secure, you can start attaching the cross beams and rafters.
Begin by sandwiching each corner post between two timber beams. We recommend adding an inner and outer beam for stability.
Secure the beams, attaching them by mortise joints screwed to an upright at either end.
Finally, add your rafters and secure all the beams and posts in place using galvanised bolts.
Step 5 – Enjoy a well-earnt walk under your new, stylish pergola.
All the tools and materials you need to build your pergola are available for fast, reliable delivery from Hitchcock & King. With over 40 years in the business, we know what it takes to get the job done. Choose from a range of tools and materials, perfect for projects of all sizes. We’re fully stocked and ready to deliver. To place an order, get in touch with our team today.